I have been using rhinestones for many of my crafting projects for at least 5 years now. Not only do they add sparkle to your project, they can also cover up mistakes!
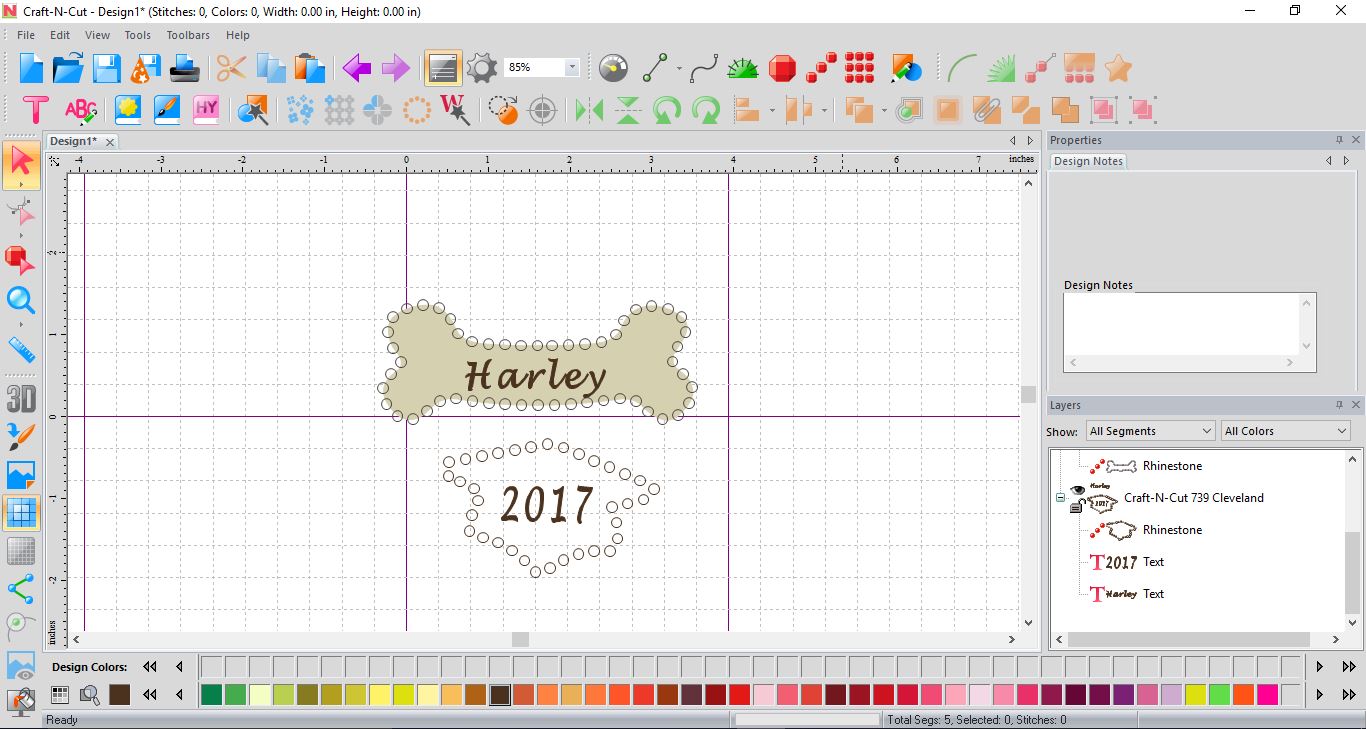
The Craft N Cut software makes it so easy to add rhinestones, I was amazed! This is a design from the Hope Yoder library and with one click you can add a border of rhinestones.

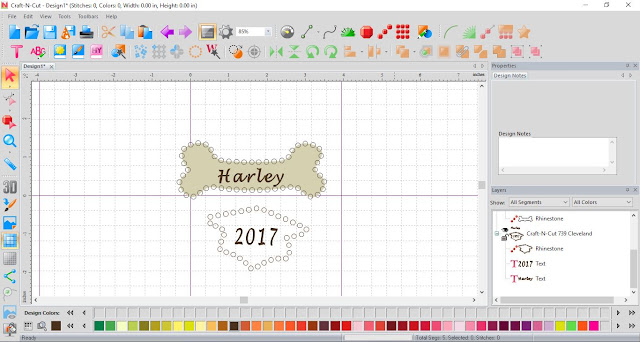


The Craft N Cut software makes it so easy to add rhinestones, I was amazed! This is a design from the Hope Yoder library and with one click you can add a border of rhinestones.

This is the same bone but the graduation hat is from the artwork folder. I added the name and date to be cut from vinyl as a second step. (I will mirror image them in the Silhouette Cameo software 😁)
It was that easy to create my rhinestone heart. I spaced them further apart because I knew it would be easier to place them onto the fabric.

I did not have any Sticky Flock but another product called Crystal Template material. I placed it paper side down on my mat and used the rhinestone material cut. With this product, I peel it off slowly and then place it on a Styrofoam board for support.

I have purchased a small tray from Michaels (used for embossing) and a small foam brush from Lowes. I used 10ss Hot Fix crystals and poured them onto the template material.

I then used template plastic to pick them up and line them up onto my heart. I pressed them with a hot dry iron and then let them cool.
I would recommend that you watch Hope's Application video for Rhinestones as it is very thorough and detailed. She uses Sticky Flock and I have yet to purchase this product.
Here is a chart to help you determine what size rhinestones to purchase based on the software's options. Make sure they are Hot Fix or you cannot iron them on to the fabric.

Here is my heart with the rhinestones . Tomorrow's lesson will be working with Heat Transfer Vinyl.


Comments
Post a Comment