Welcome to my first Craft 'n Cut Skill Builder.
"How to Create a
Split Image”
A skill builder is a quick lesson to learn how to use the newest Floriani software called Craft and Cut. If you have been following my blog, you may have noticed that I have not been blogging recently and my life has been rather hectic. I recently taught this class and I wanted to add this blog post to help the ladies and you to practice this quick and easy technique.
Here is the cutting board design that they used for their project. You can find the free file here Free spoon and fork file

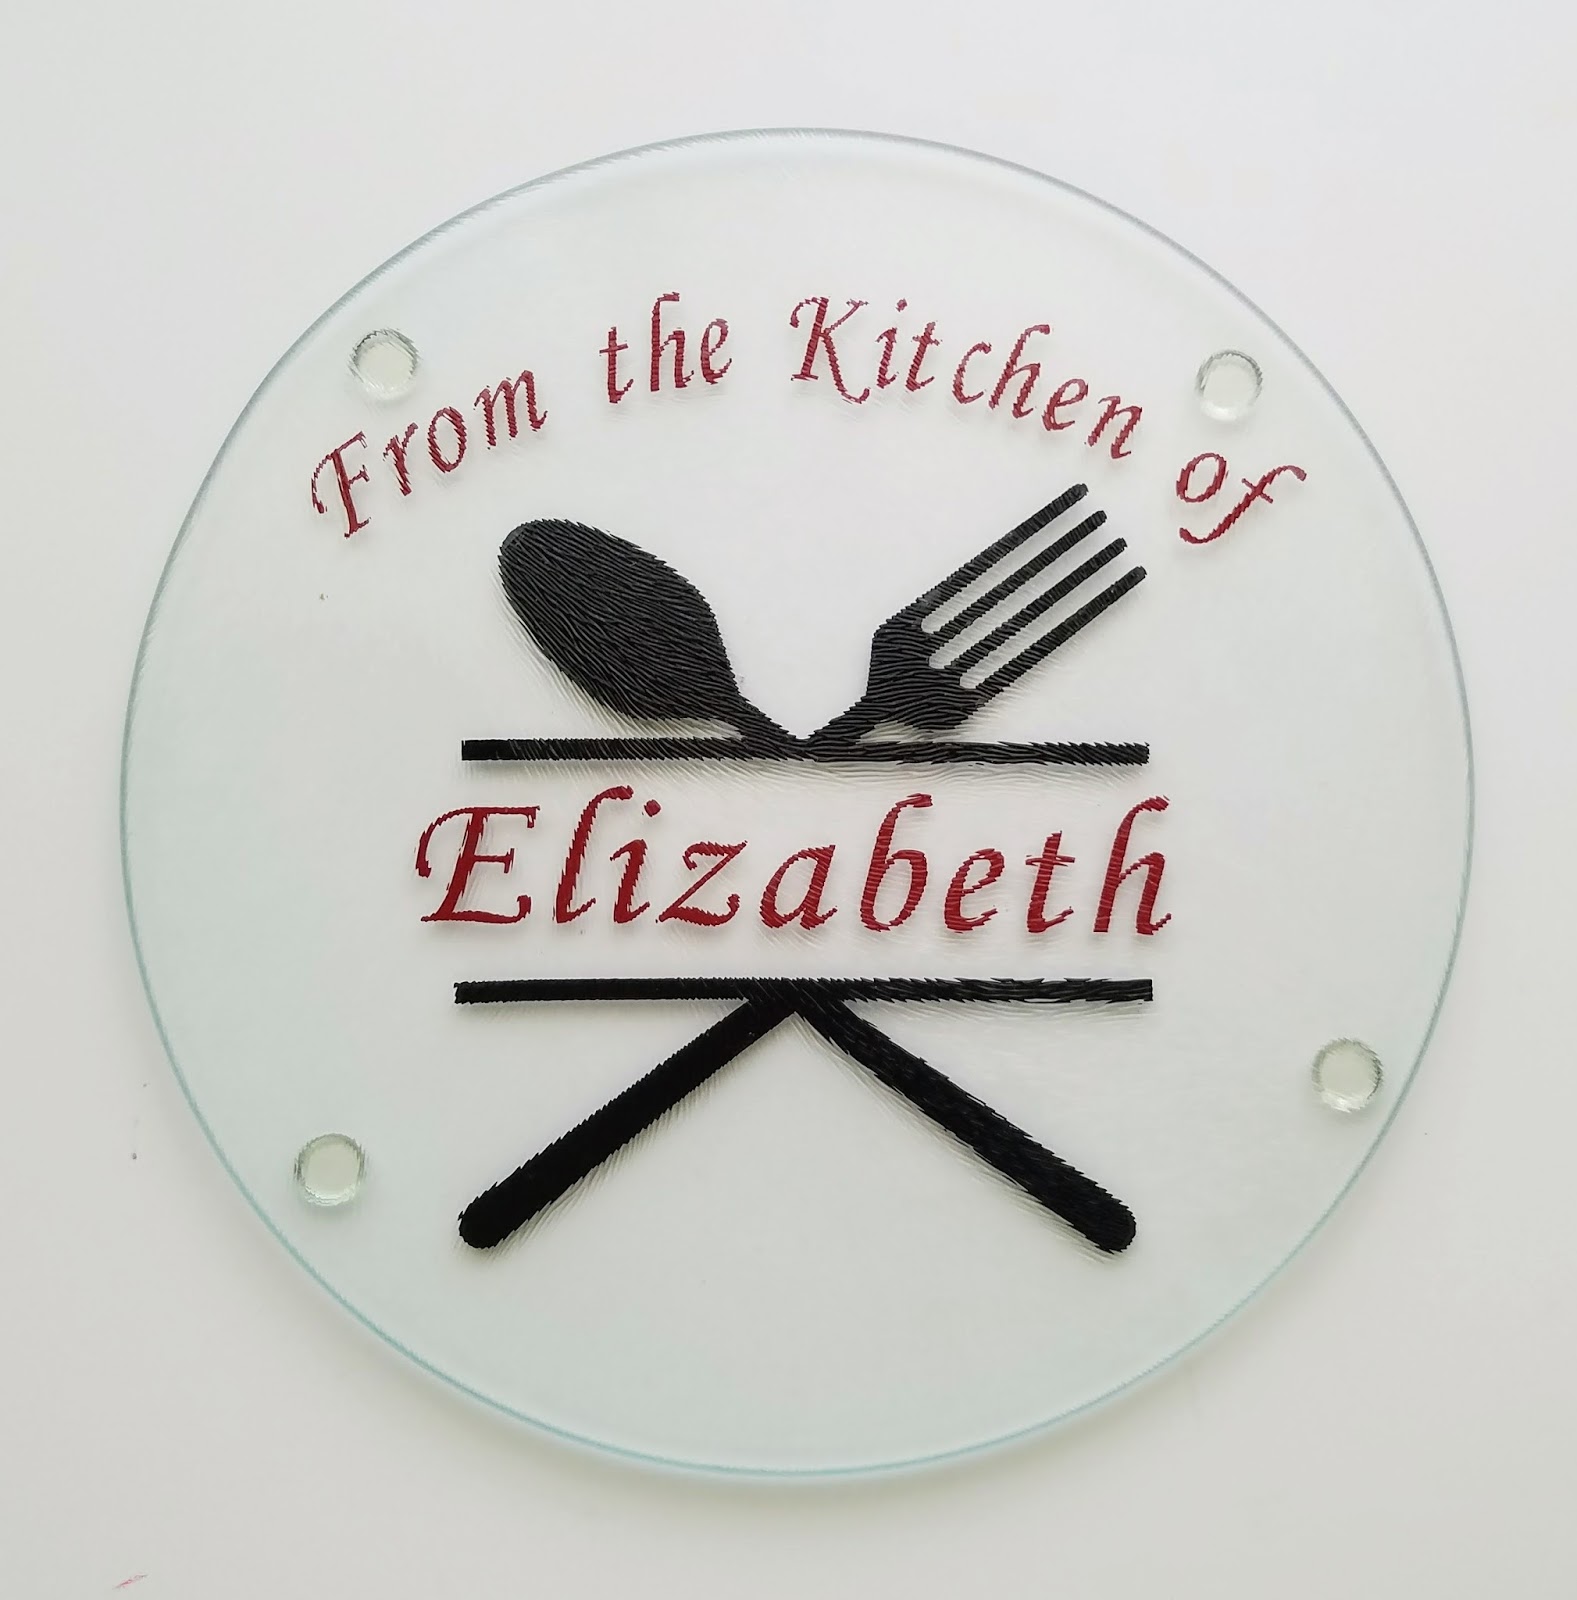
Here is the finished cutting board, a gift for my daughter-in-law for Mother's Day.
>Open the CNS software and start a NEW page.
>Open the Autowizard and >Select Image. Open the folder where you saved the Spoon and Fork clip art.png >Next

>Next -(we will change the size later)
>Next - 2 colors >Next
>Use the Default Tolerance - No background fill > Next
>Select Transform The size is W=6.52 H=5.09 Save as Spoon and fork design.waf
>Draw a circle (or square) 7" in size. Hold the Ctrl+Circle/Square to draw an even shape. You will see the design is too large for the round glass cutting board.

> Select the spoon and fork design and resize the design in the Transform window. Be sure to check the Maintain Aspect Ratio and size to H=4.5"
>Draw a rectangle W=6.75" H=.25". Duplicate it and set it off to one side. Notice the red circle around the Copy and Paste icon.

Center the rectangle over the spoon and fork. Select both of these designs and then select >Trim This action splits the design.

>Ctrl key and the up and down arrows on your computer keyboard to separate the design. Holding the Ctrl key keeps the design vertically straight.


Fill the design back in by checking the Fill box

Delete the circle shape and save as Final Spoon and Fork.waf


>Text >I added a name to the center of the design using the Dill Pickle font at .75". The font I used in the original design was Deanna.

Then Select All and Mirror the design. The vinyl goes on the back of the cutting board so the cutting board is useable.

>Select the Vinyl registrations mark icon and decided where you want them I like them at the top so I can accurately line them up from the top.

>Select Save2Cut and identify it with the name you selected i.e. Moms Kitchen. The software converts the design to a two part svg design because the file contains two colors.
Here is my print out for the design. I print these off and use the as a reference.

Why not give this lesson a try? In my next post, I will show you how I transfer my svg files to my Silhoutte Cameo software. HTH!

Comments
Post a Comment